Batch processing
This was the next step on our Pixilation we made the previous week. You have 280 photos and they all need to be re-sized to be friends with Adobe Premiere. So we learnt Batch processing. We were basically taught how to record a number of commands in Photoshop and then apply that to the rest of the folder containing our photos.
I did three sets of these. Each with different filters and settings giving different effects. First of all they all had to be resized to 720 px x 576 px. This was so they all fitted in to Premiere's stage without being too big or too small. This also cuts the file size down a lot.
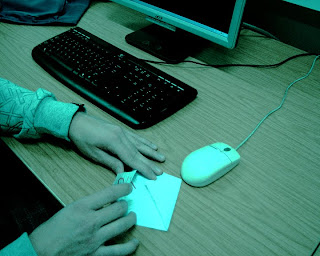
These are one out of the set of photos that i think best shows the filters and effects applied.
Original;

_1;

I have altered with the hue/saturation, added a photo filter (underwater) and also adjusted the curves.
_2;

I thought the last one was quite bland and faded. So i altered the shadow/highlight, adjusted the curves, altered the colour balance and added a vignetting effect on the corners.
_3;

For the final one, i wanted to go a bit mad with the filters. So i changed to black and white initially, altered the shadow/highlight, added a mangeta photo filter 50% and then added a cutout effect.
I am looking forward to the next session were we compile our photos to make our pixilation.

0 Comments:
Post a Comment
<< Home